Purchase
I bought “non working” Atari XEGS on ebay for around 75 EUR and expected to have some chips burned out, power supply failure or something similar.
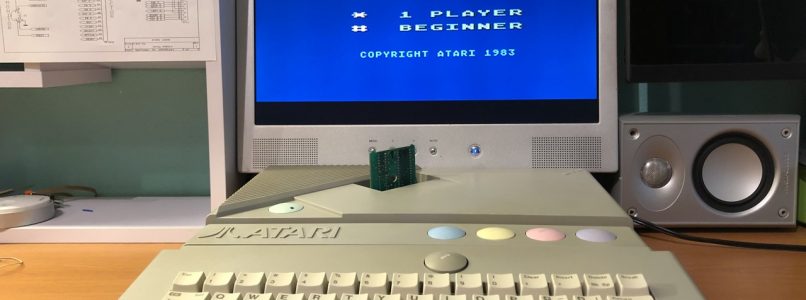
The waiting is over
About week later I opened up the well packed parcel, a quite nice looking XEGS was there together with keyboard and power supply brick.
Dirty little secret
However after removing the screws, I was shocked what i found inside. Rusted metal cover with lot of rust debris on one side.
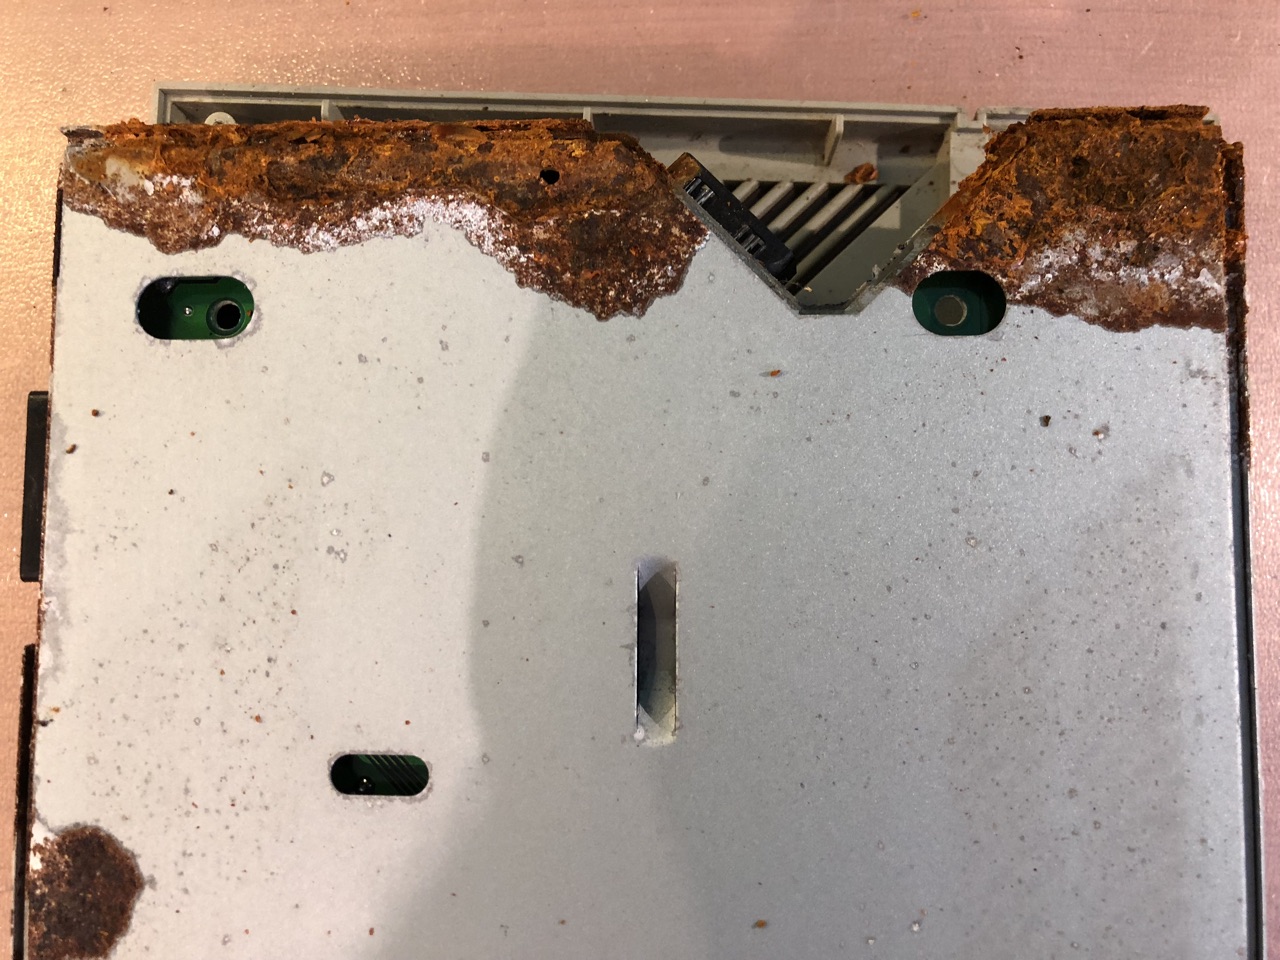


I expected that the motherboard will be totally useless.
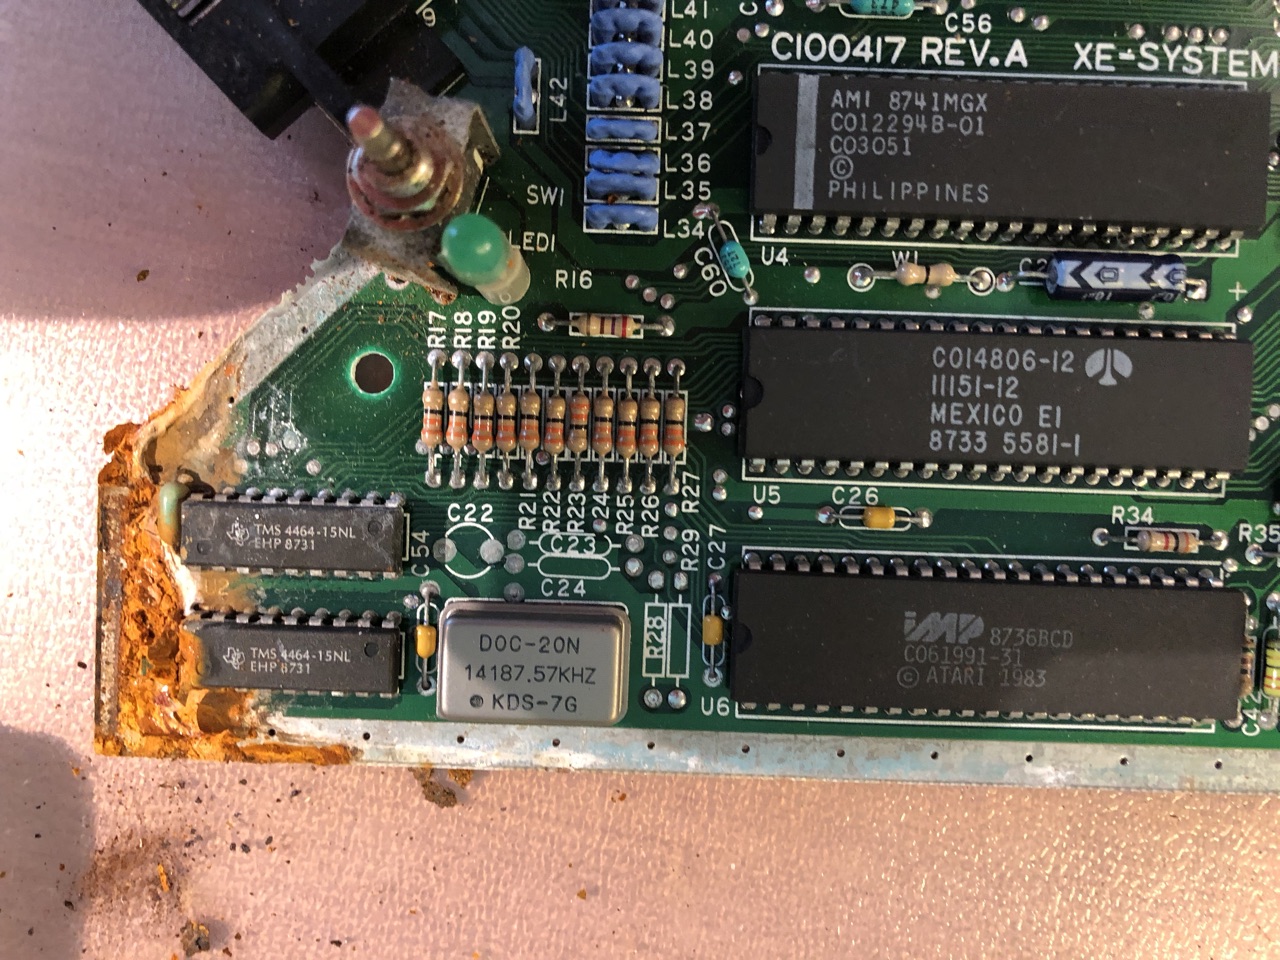


After tiresome cleaning with Alcohol and old toothbrush I got something to work on.

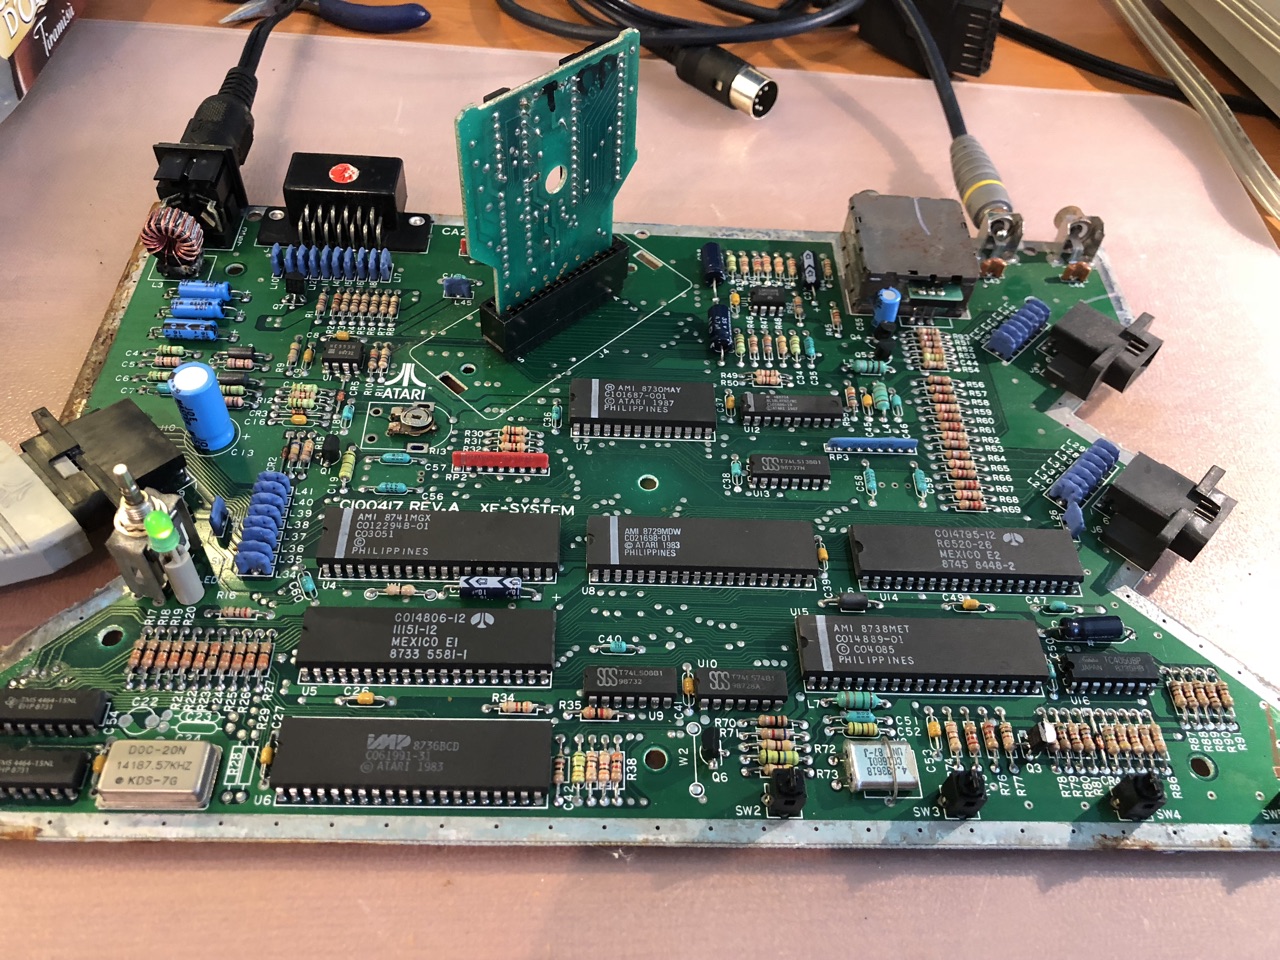
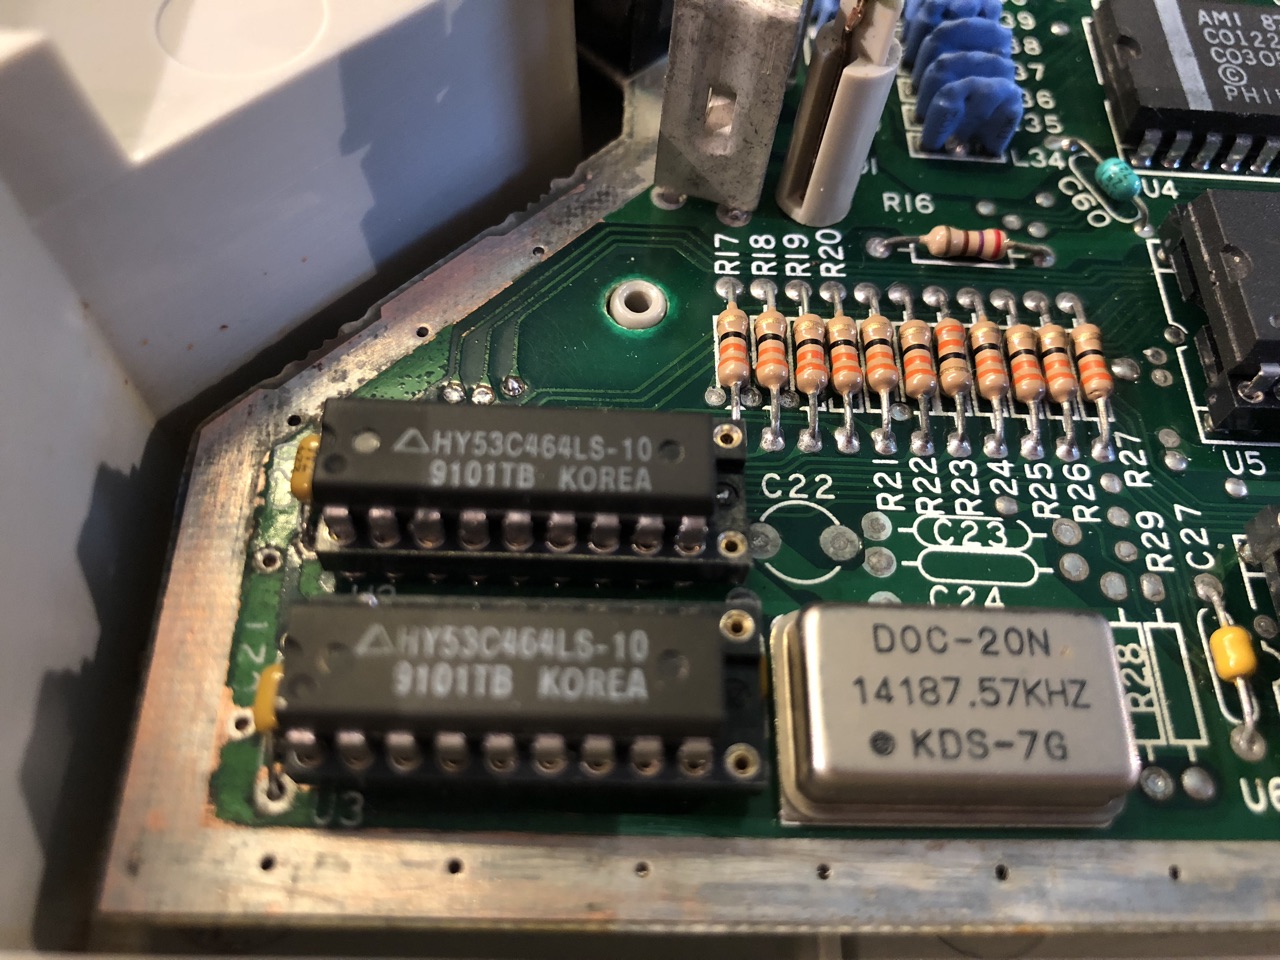
Rusted ramchips got removed and sockets put on the PCB. Replaced them with working spare ones. Still red screen. Desoldered and changed os-ROM to find out it was good. Suddenly an idea to put MOON PATROL cartridge inside has attacked my mind. Tadaaa it worked… …sometimes. When i stared the game a moon vehicle was jumping (without joystick connected). I measured all PIA and Joystick related traces on PCB, but all seemed fine. Measuring the MMU inputs showed expected values too.
Donor needed
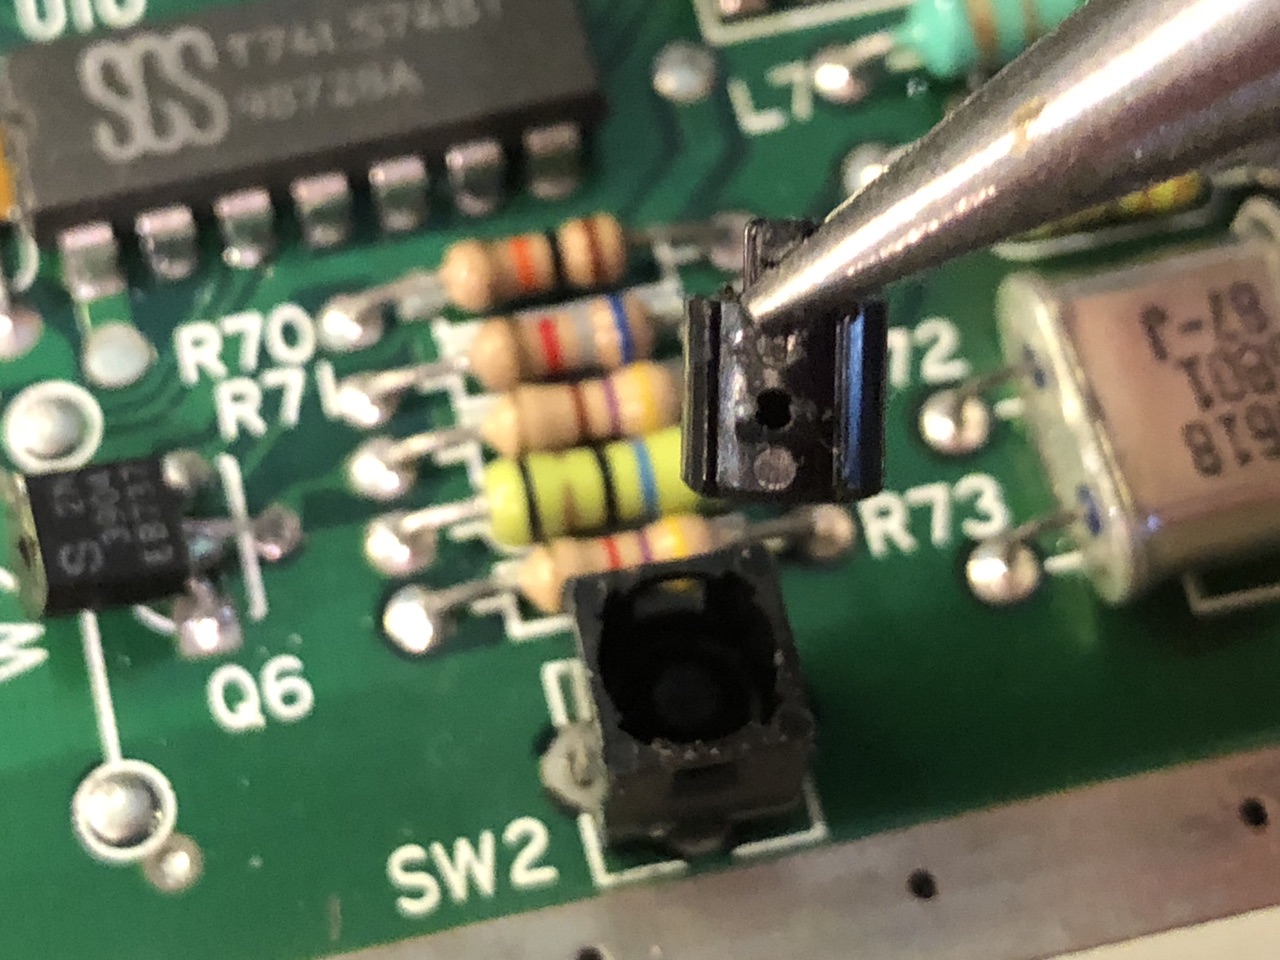
That’s the moment you need to ask your donor PCB for a chip, desolder two 40 pin chips, and add precision socket. Not a funny job at all, as the PCB is very delicate. At first a manual solder sucker and low power soldering iron with regulated temperature were used for desoldering, but the pins on PCB that got connected to bigger traces (mostly ground) were really a problem. So i used the classical 75w pistol solder gun for them.
New PIA works like charm and as port B of it deals with memory mapping now somehow I got missile command start up automatically. Self test and basic key combinations worked fine, too.

All work and no play makes … keyboard nice again.
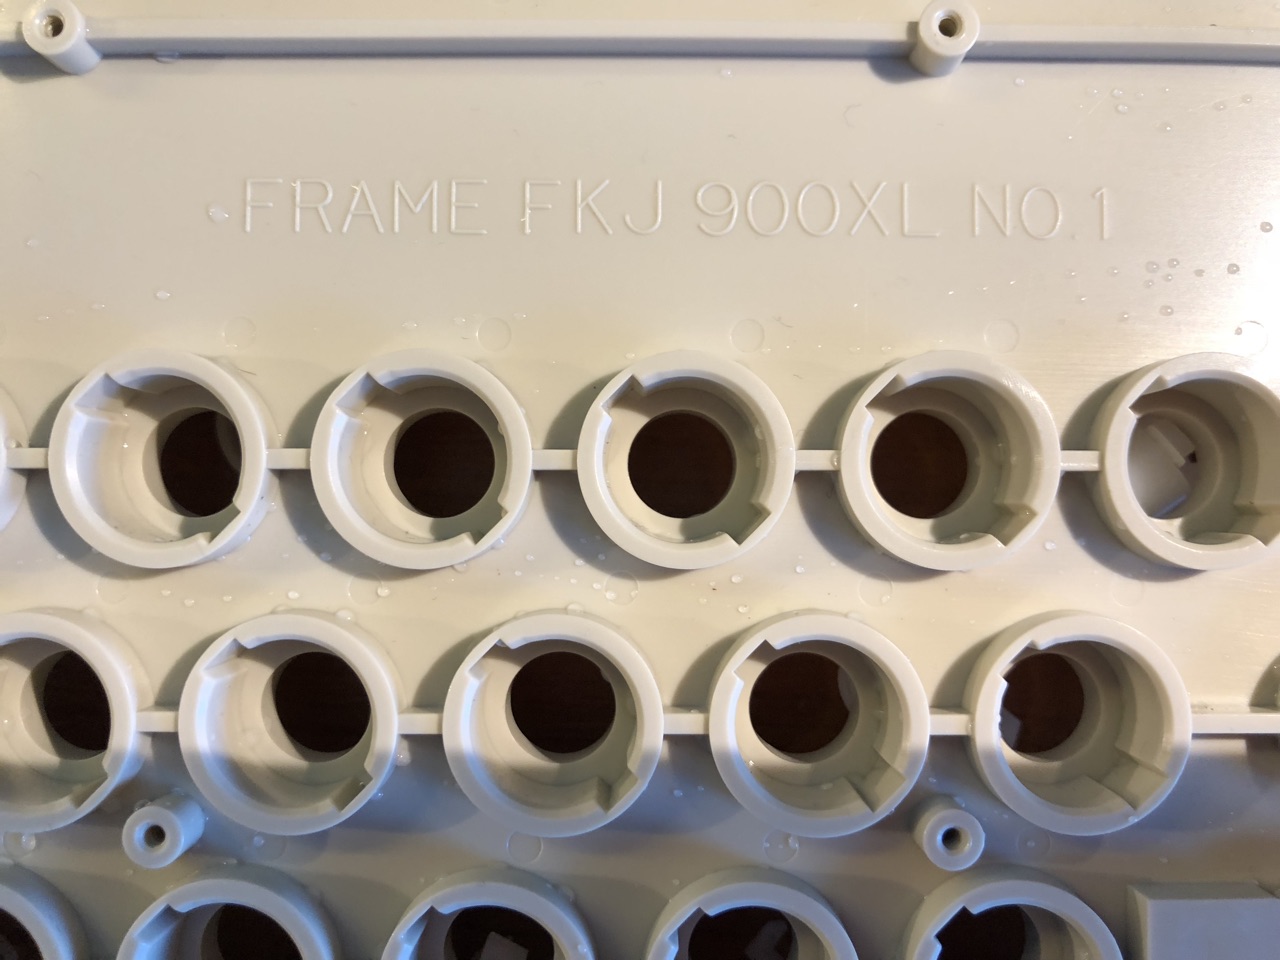
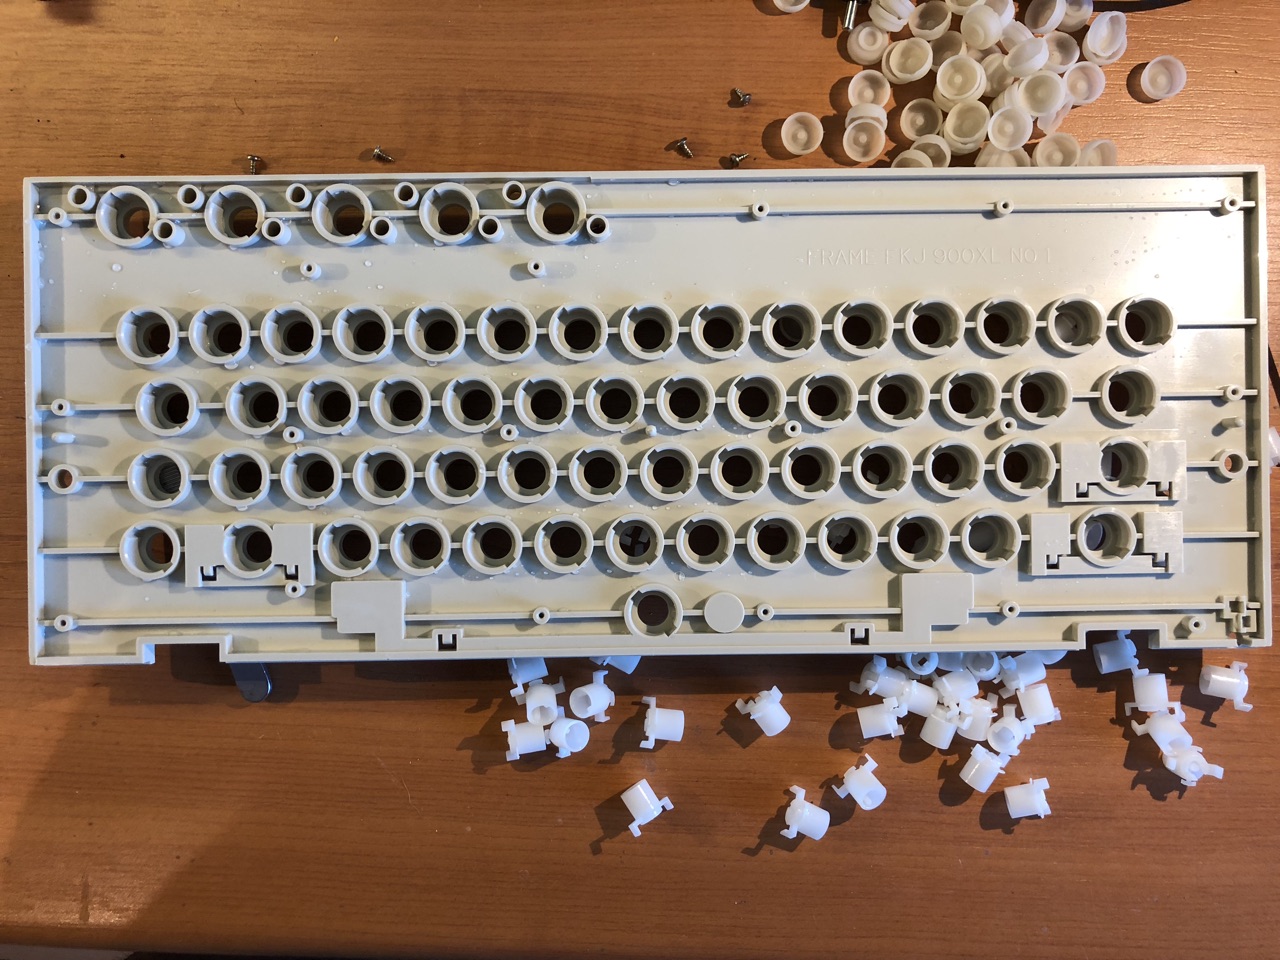
The next step was to clean the keyboard, I totally disassembled it, cleaned each keycap, plastic parts and cable with toothbrush and liquid soap. The whole machine smelled little bit like old house basement, so I cleaned the small PCB inside keyboard by Isopropyl alcohol, too. Quite a lot of small parts….
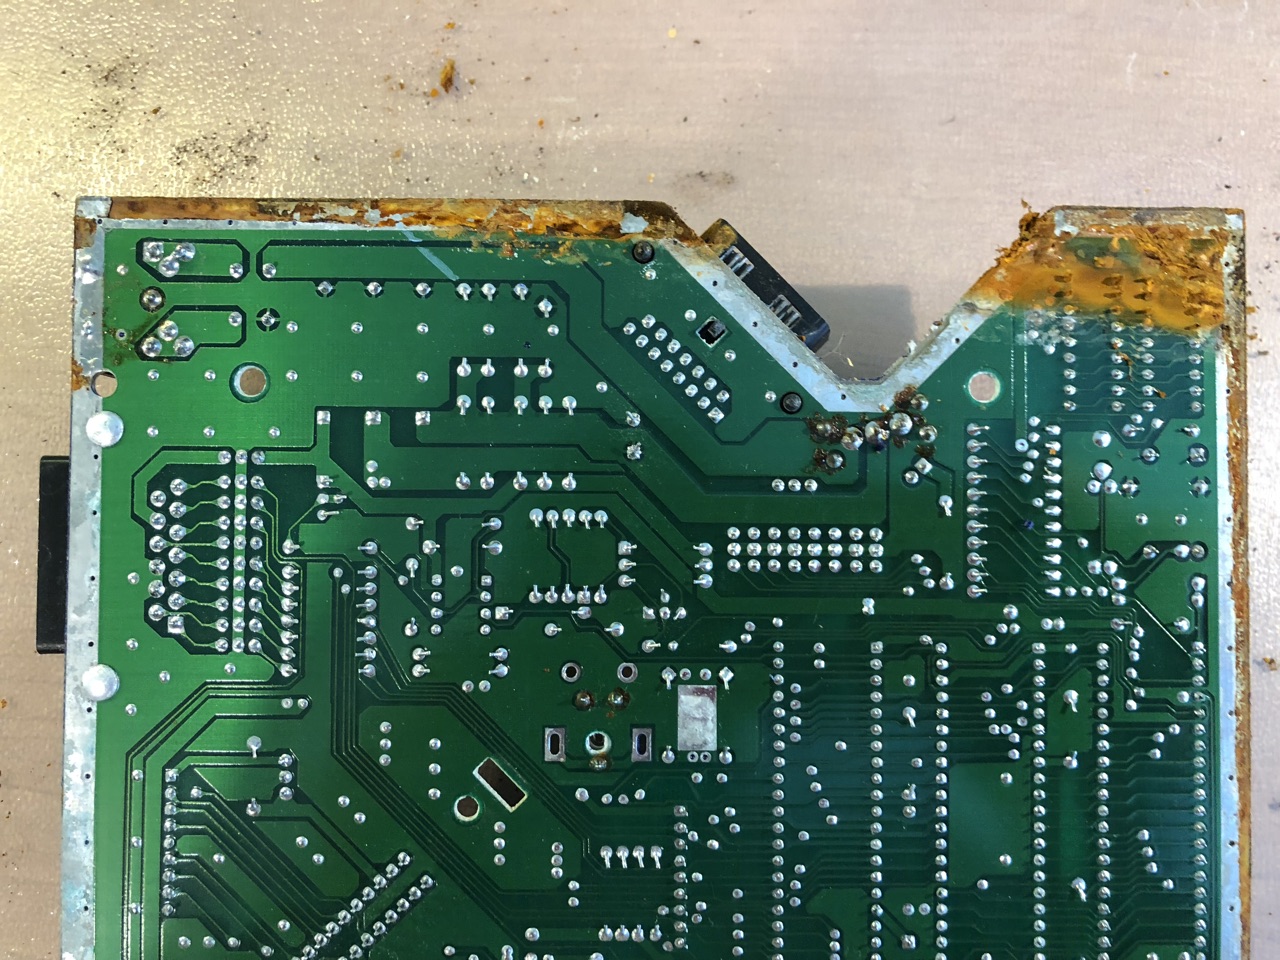
Overcleaning
It was time to clean my main PCB from the soldering residues and remainders of rust. I used special “after soldering” spray for that. However after this treatment and patient drying out, my Atari XEGS did not start.
Second Red screen of death
Two hours later, after measuring the data and address bus, I decided to transplant new antic, meaning another 80 pins of desoldering. Antic was fine, I tested it in my 130xe.
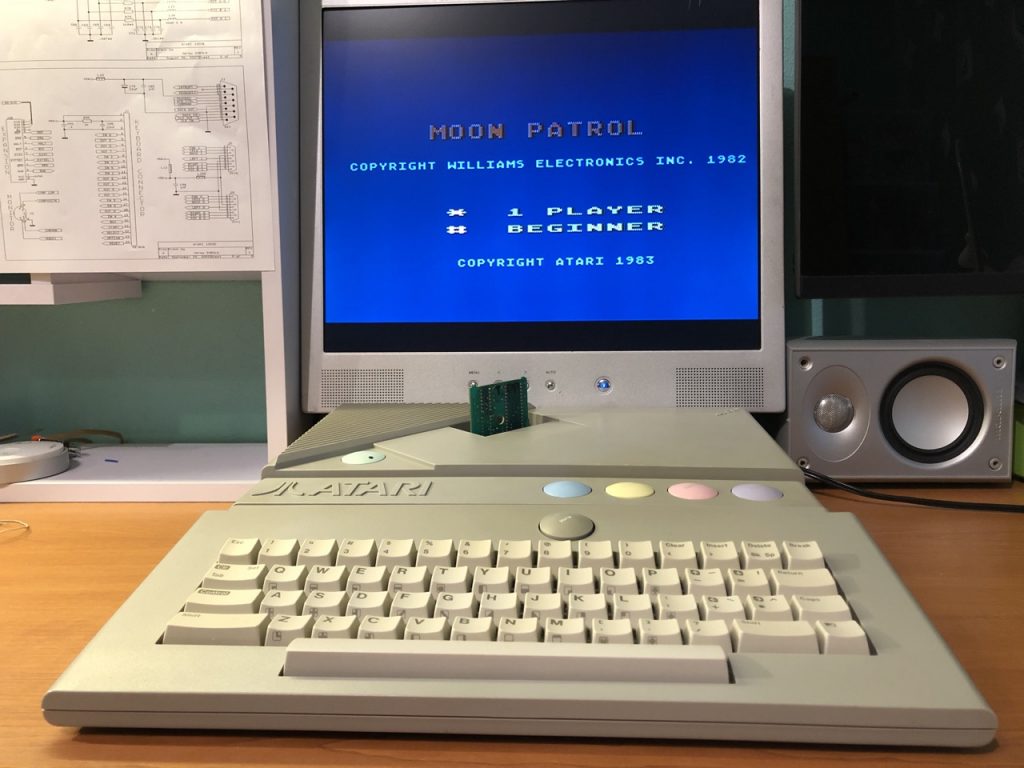
Next usual suspect was CPU. Transplantation did help, I can play Moon Patrol on Atari XEGS again.
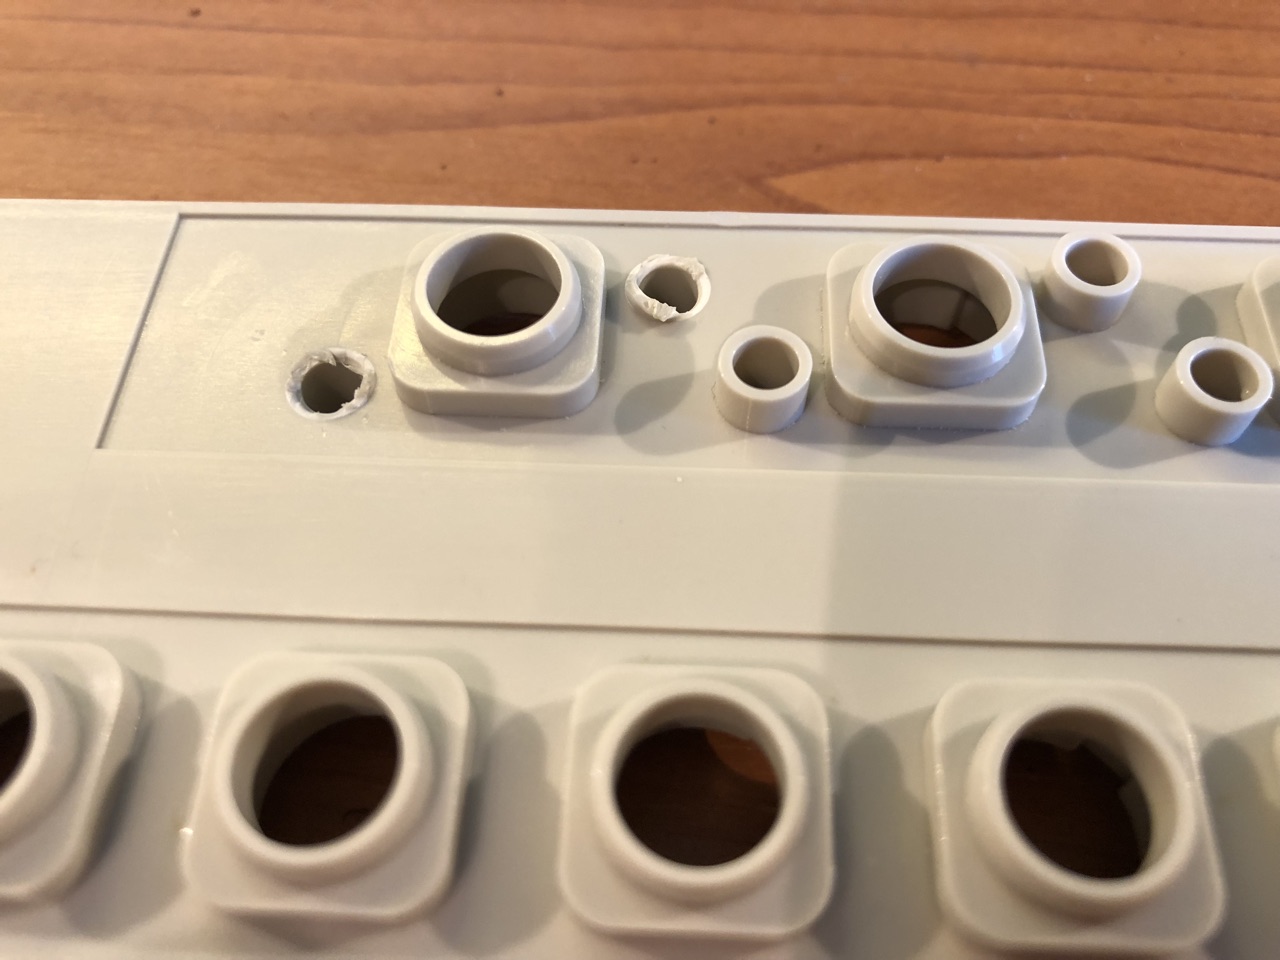
No more OPTION
Some keys (option, reset, select) were not working like they did before or did not work at all. I measured them with OHM meter and found some of them having resistance over 1000 ohm.
Careful removing of the top part of each button discovered the rubber part inside. I cleaned and dried all inside. Pencil is actually a carbon (electrical conductor), so I painted the tip of the rubber that is supposed to interconnect two contacts inside with pencil. This fixed the contacts in the switches.
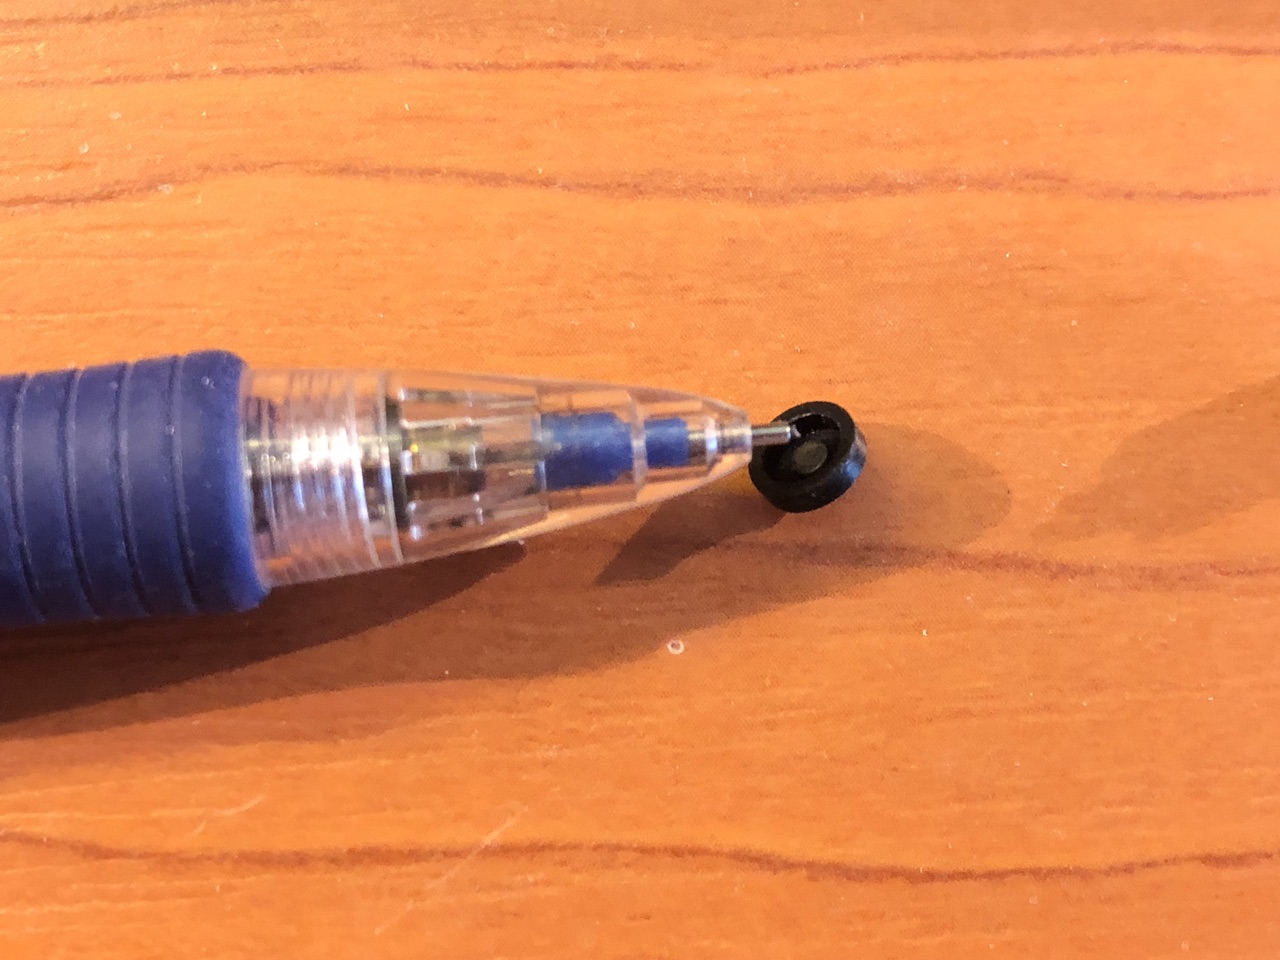

I think it’s my fault, as I flushed away the original conductor from the rubber pads during the initial cleaning.
Tuning time
Next steps were obviously the super video mod, adding s-video connector and removing the modulator.
TODOs
The pending upgrades are:
- clean the metal rusted parts and treat them somehow
- upgrade with 16 shades of gray mod 🙂
Prologue:
I still think that the machine I bought has semi-faulty PIA and CPU from the beginning, and still wonder where the water damage and rusting came from. Whether someone just put it in the dishwasher for cleaning or got his attic/basement flooded will probably remain a mystery. There are some “good tips for housewives” floating around internet advising to put keyboards to dishwasher for cleaning !!!
Maybe someone just found it in the wet trashbin and put it on ebay, and there’s another good ending for the “save Atari” story.